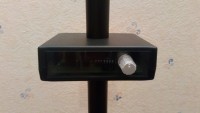
Dimmer controlled by a universal infrared remote control.
Control your living room floor lamp with your infrared remote control.
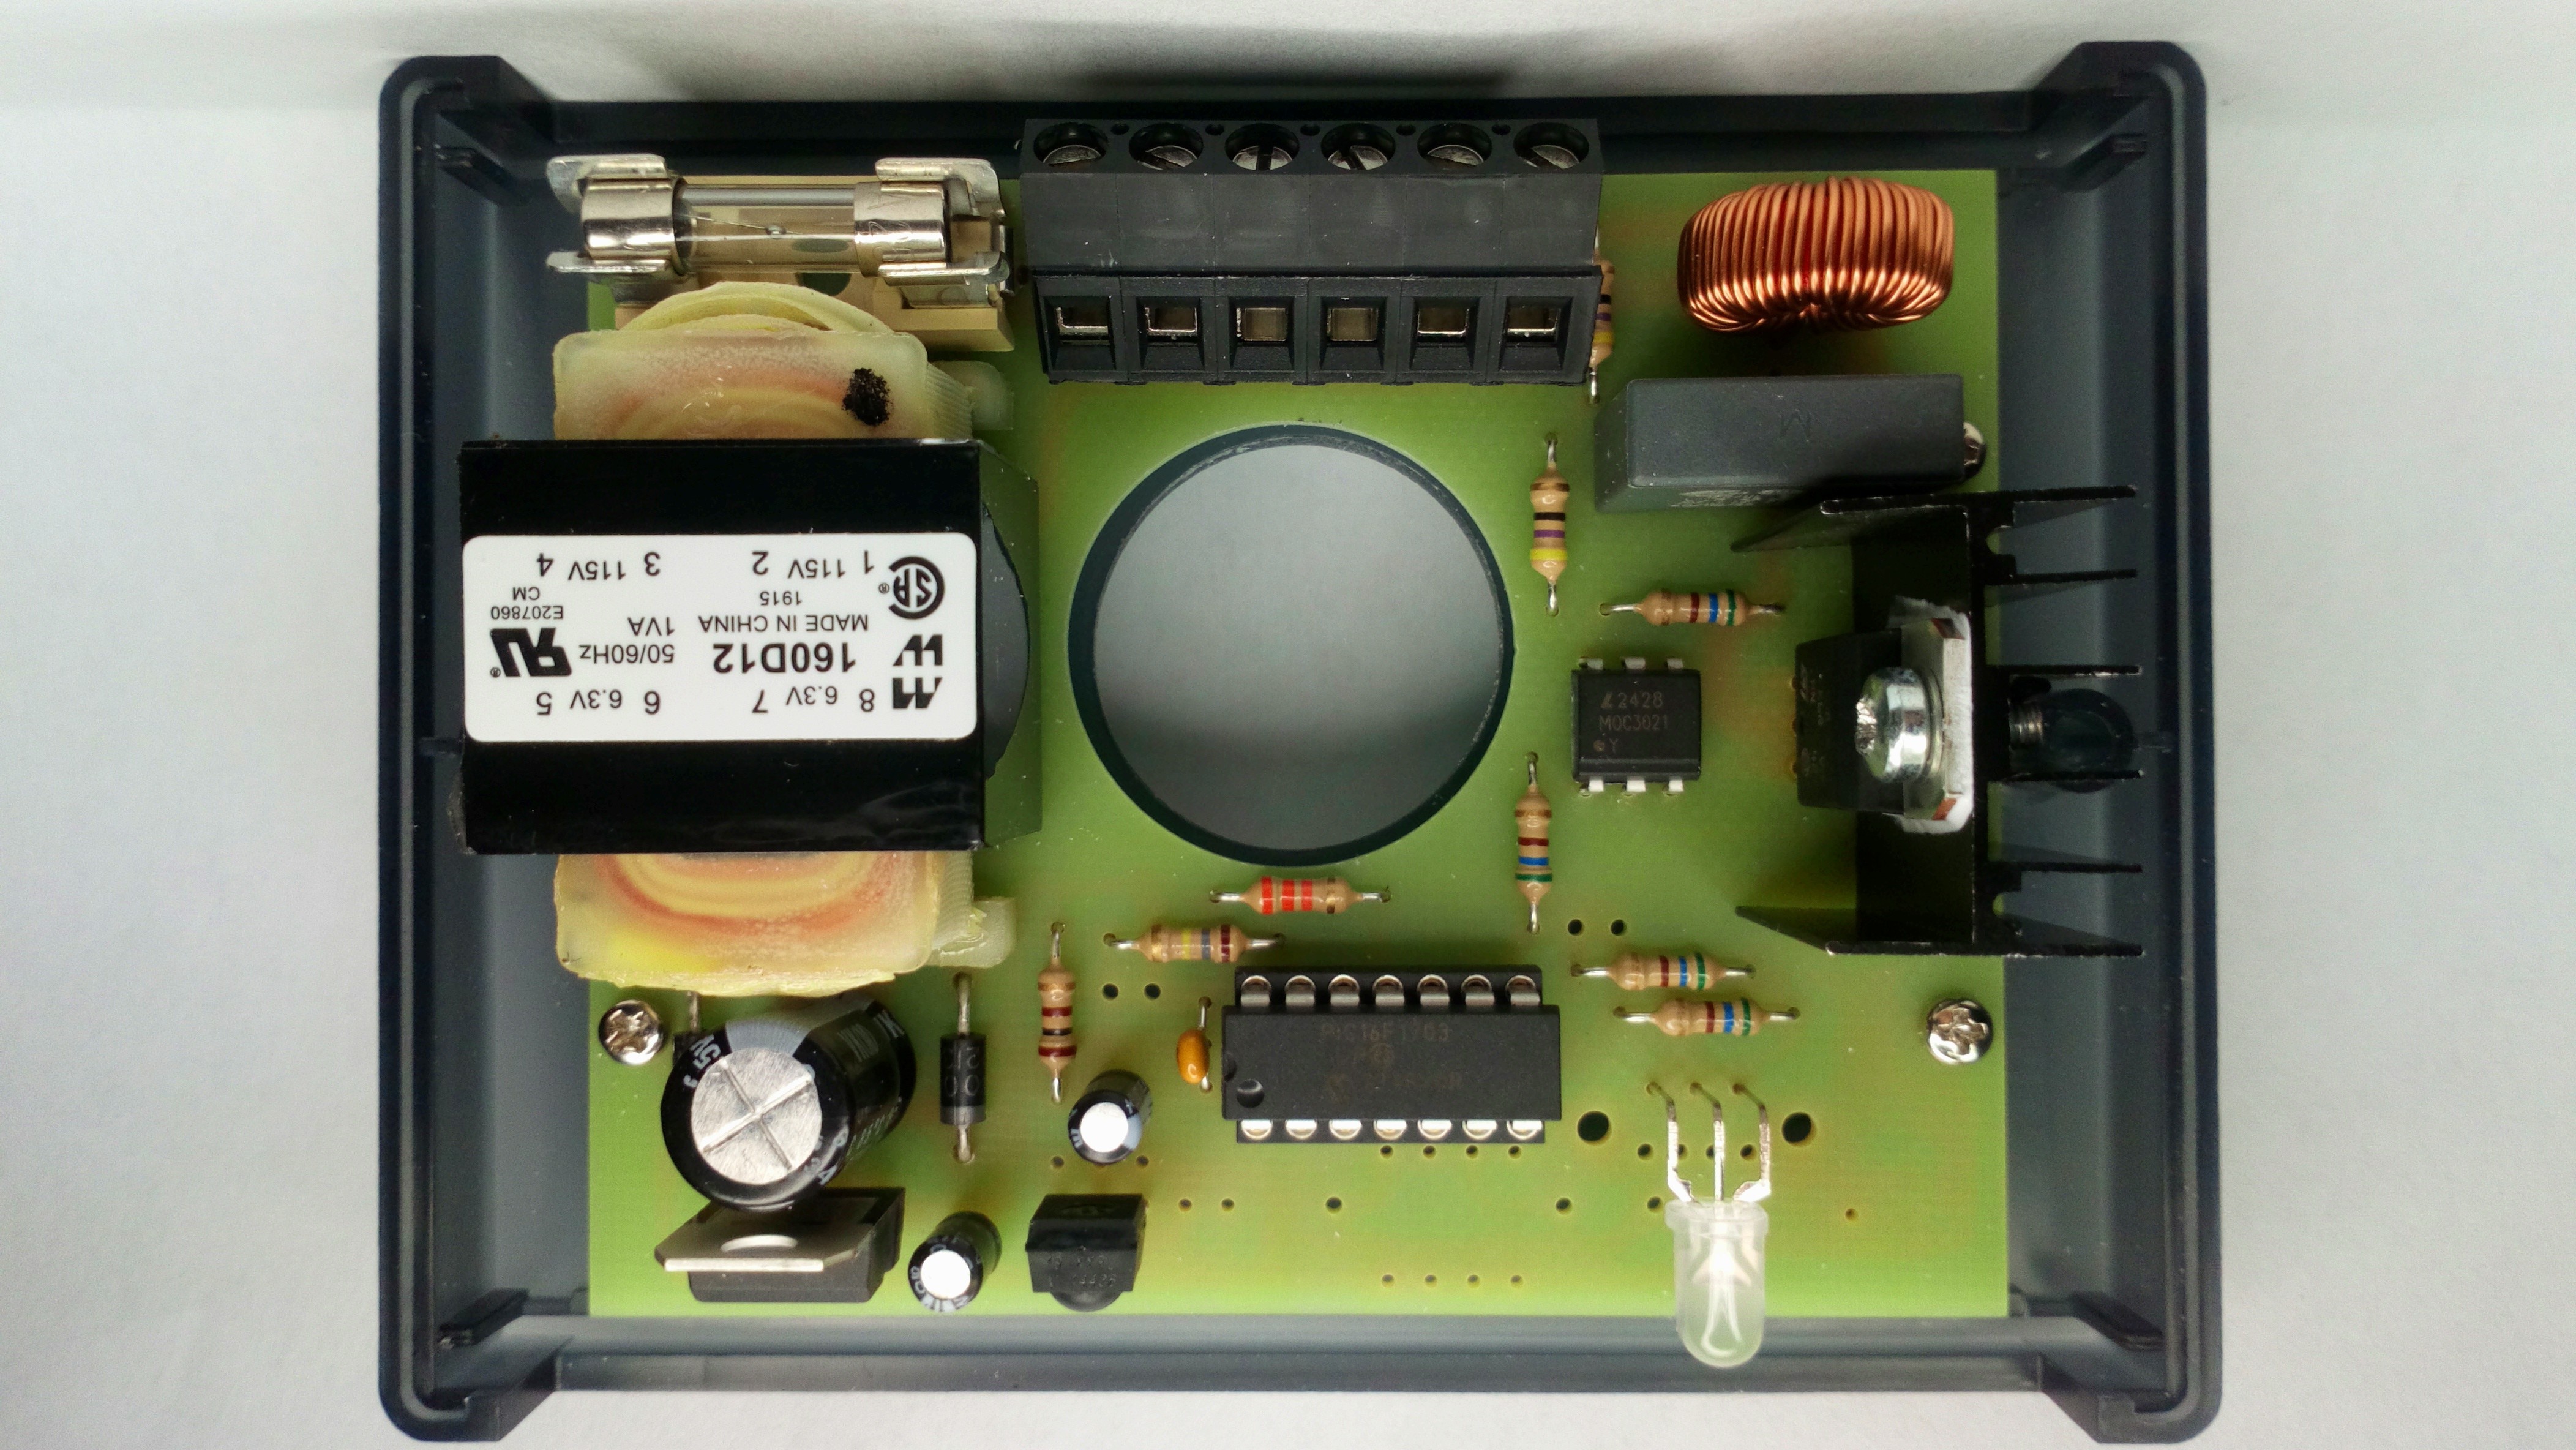
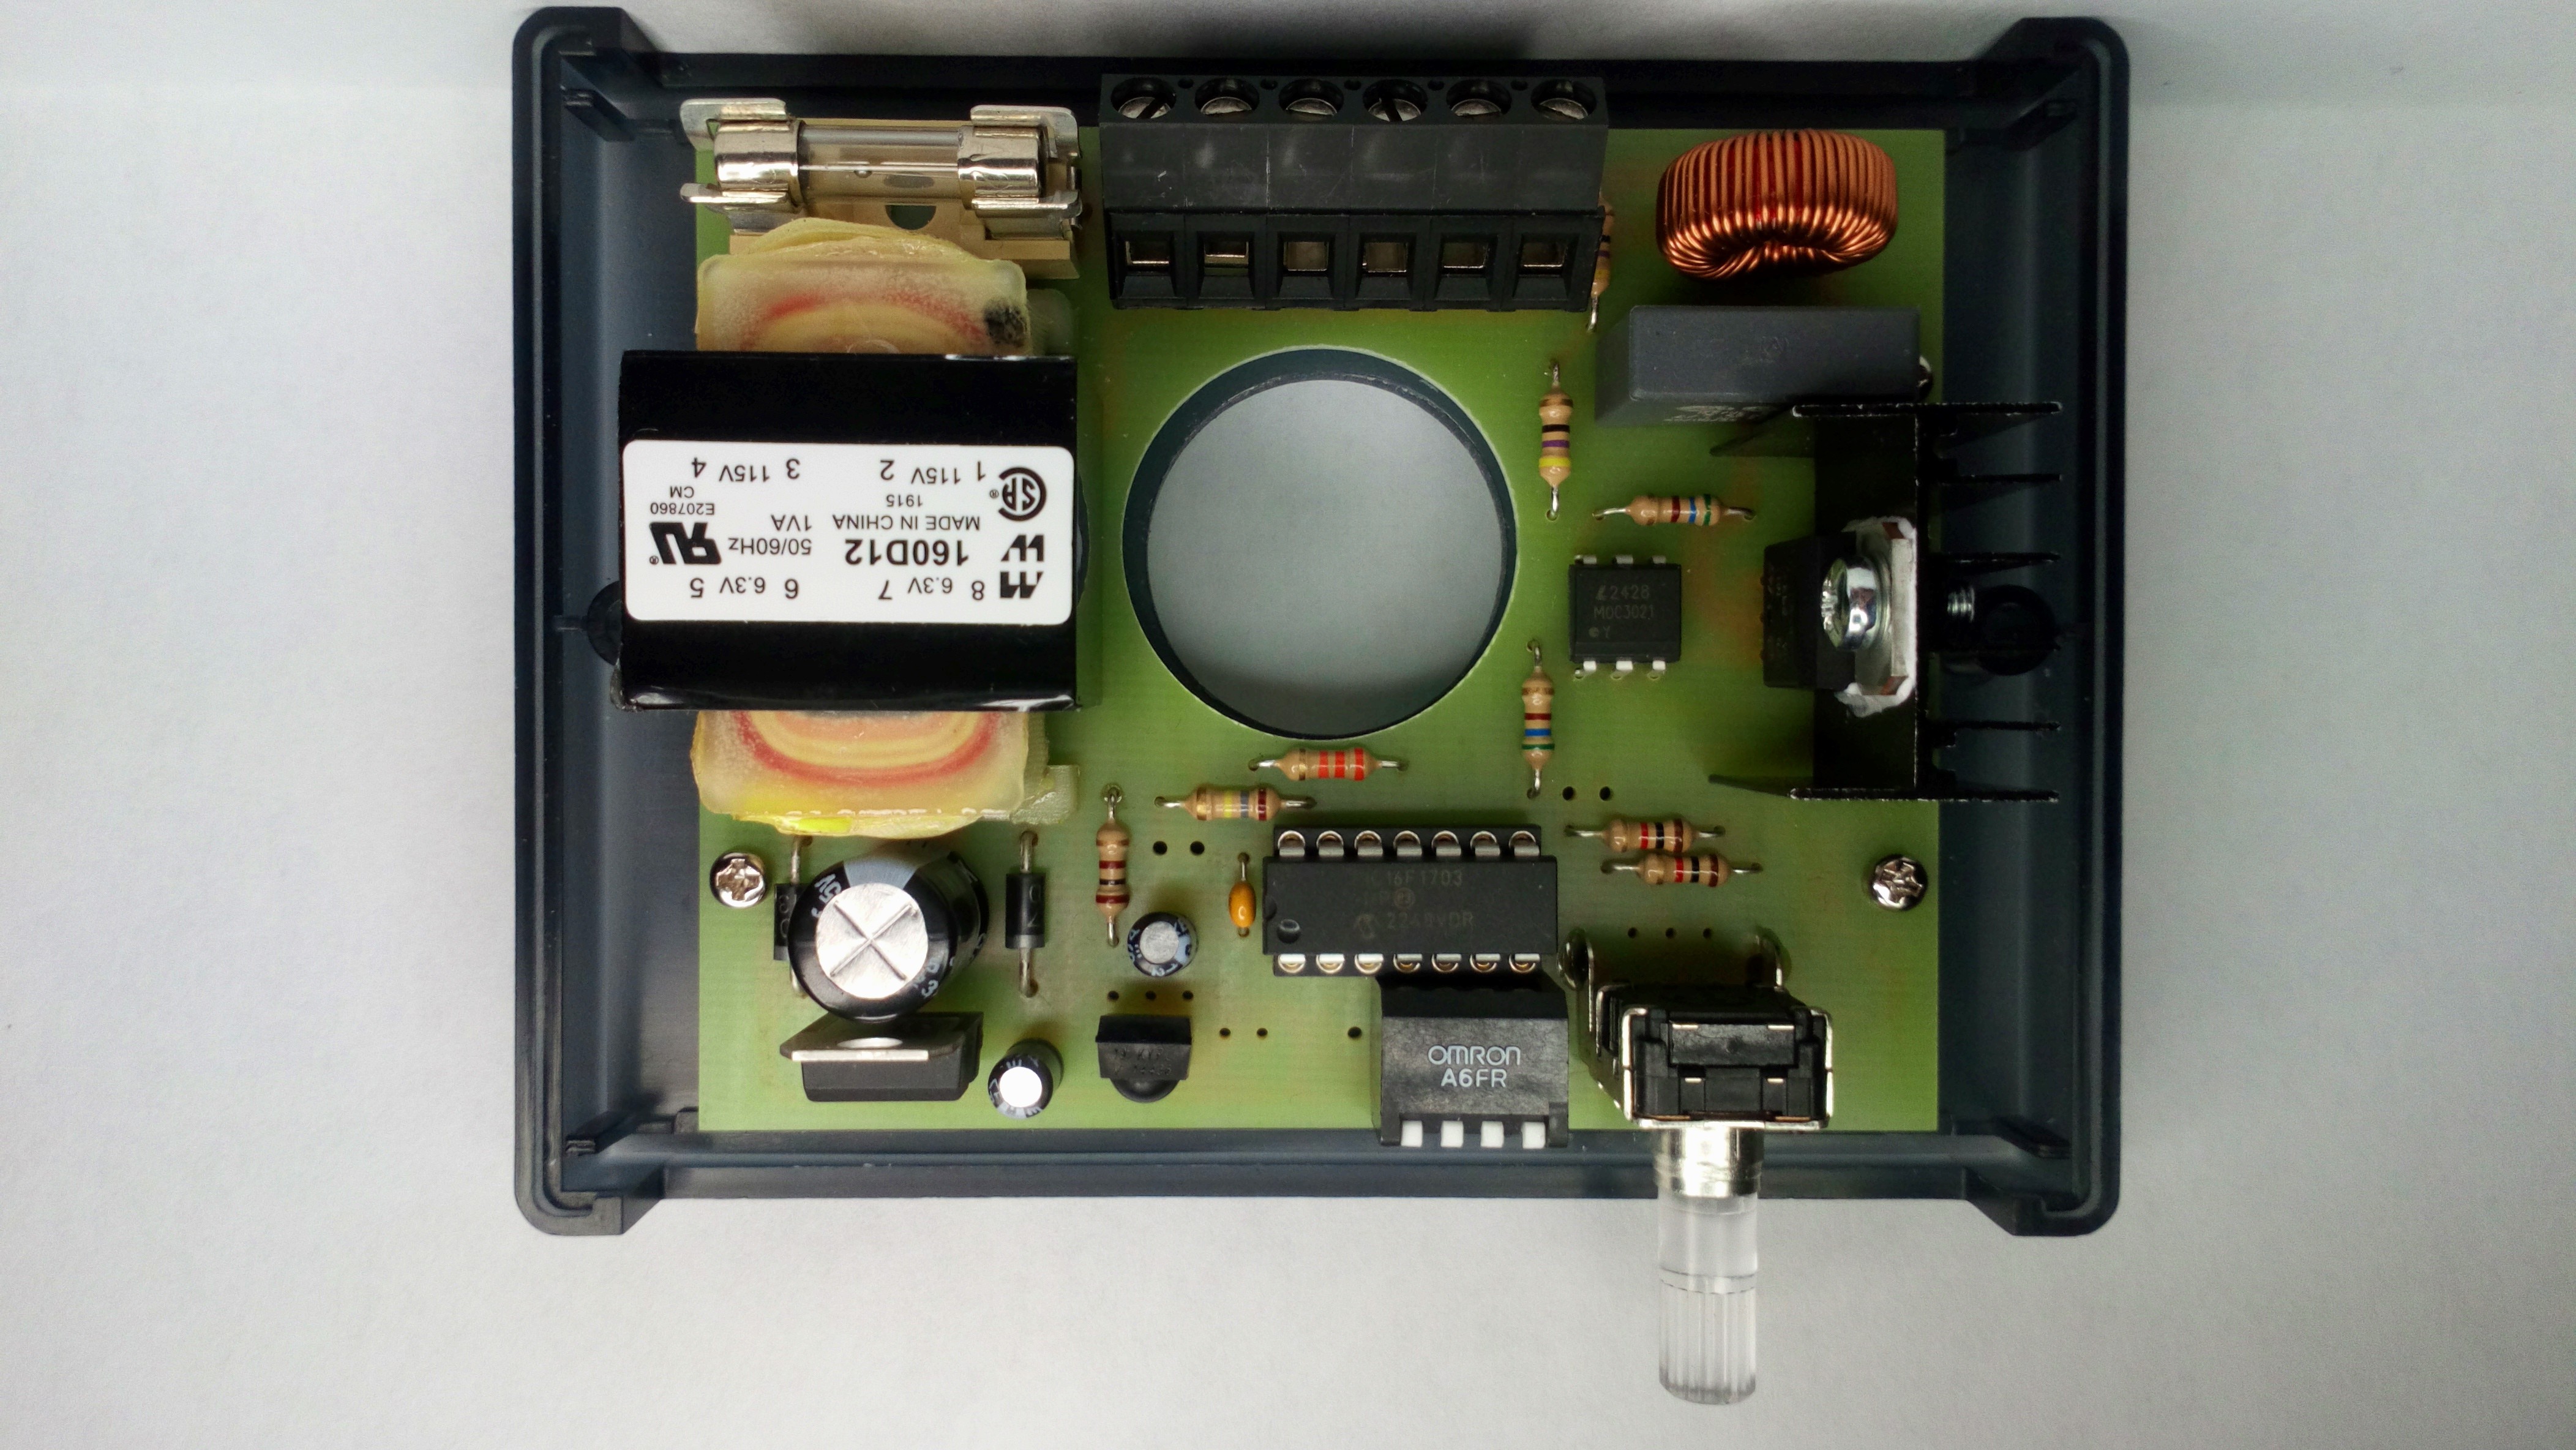
Highlights: Microchip microcontroller with a Zero-Cross Detector (ZCD): PIC16F1703. Leading edge (triac). Main supply : 110V or 230V. Automatic selection 50/60 Hz. Adjustable resolution ( switch 50/102 , 37 to 206 by soft ). Automatic learning of infrared remote control: - Pulse Distance Modulation 6 to 48 Bits ( NEC,JVC,RCA,Mitsubishi,Panasonic....). - Pulse Width Modulation Sony 12/15/20 bits. - RC5 Philips. - RC6 Philips. Up to 6 keys : ON/OFF,Down,Up,Favorite1,Favorite2,Delayed Shutdown. Gradual switching ON/OFF. Delayed Shutdown ( 10 minutes @ 50 Hz ). Minimum and maximum lighting adjustment ( Rotary encoder version only ).
The dimmer uses a microchip PIC16F1703 microcontroller with a Zero Crossing Detector input ( ZCD), which simplifies the hardware, only two resistors and one capacitor are required!!. For PIC fans like me, I wrote the entire program in assembly (*.asm and *.s MPLAX V5.30 / MPLABX V6.00), the source and hexa files are available for download. I offer two versions of equipment: - Lite version with a push button placed under the box allowing you to turn the lamp off or on and configure the dimmer with the remote control. -A rotary encoder version which also allows you to adjust the lighting of the lamp and access to the mini and maxi setup. How to : Learning the remote control: 1-Press the push button until the LED is green ( Press the push button to exit ). 2-Press a button on your remote control until the LED is red. 3-Wait for the LED to turn green. If the LED remains red this means that the remote control protocol is not recognized and the dimmer has restarted. 4-Press the button on your remote control which will correspond to ON/OFF,the LED turns red. 5-Wait for the LED to turn green. 6-Press the button on your remote control which will correspond to Down,the LED turns red. 7-Wait for the LED to turn green. Repeat 6 and 7 for the Up,Favorite1,Favorite2,Delayed Shutdown keys. At the end the LED remains red and the dimmer restarts.
Favorite lighting setup: 1-Press the button on your remote control corresponding to favorite 1 until the LED is red. 2-Adjust the lighting using the Up/Down buttons on your remote control. 3-Press the button on your remote control corresponding to favorite 1 to save. Same thing for the favorite2.
Minimun/Maximun lighting setup ( Rotary encoder version only ): 1-Press the push button until the LED is red. 2-Adjust the minimum with the rotary encoder.
3-Press the push button to save. 4-Adjust the maximun with the rotary encoder (no flickering). 5-Press the push button to save and the dimmer restart.
What do you need ? - Sprint Layout 6 ( PCB and BOM ) - A PIC Programmer ( PICKIT3 or else )
Möchten Sie einen Kommentar mit Ihrer Bewertung hinterlassen? Bitte melden Sie sich unten an. Nicht gewünscht? Dann schließen Sie einfach dieses Fenster.

Updates vom Autor